
Today on NBC 12 I did craft segment on these! It was 3 minutes...so I talked fast.

Just to be fair however, I do have to preface this blog article with this note. Note. I'm a frugal geek. I hate wasting money. If I think I can make it cheaper I will usually try. If I think I can use recycled stuff, I will. If I can save other people money. I do that too. I don't mean anyone any harm or disrespect. I'm not here to offend any local piñata makers. I think after making a few of them that that they really do an amazing job. I'm just saying that I wish more folks would make piñatas with the kids as well as play the game of knocking the stuffing out of them. I will do a few case in points:
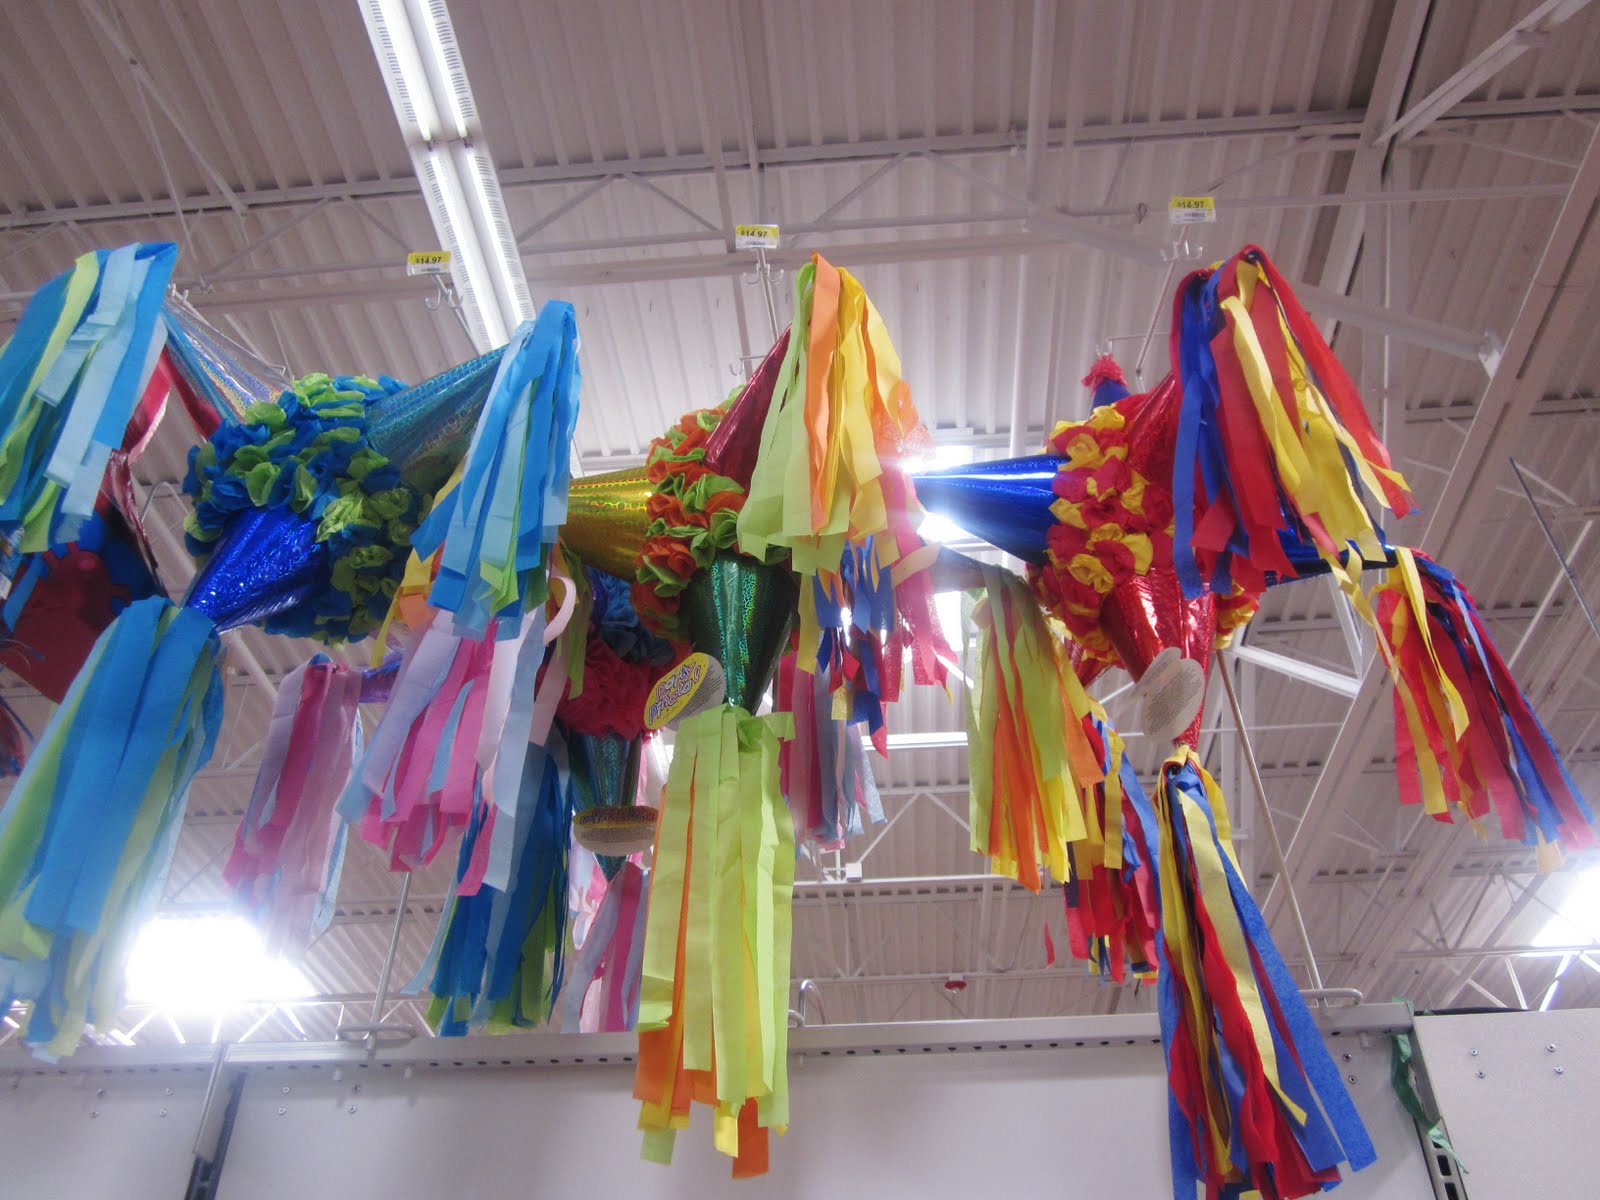
Cones with tassels on the ends
around balls with fluff...usually 20$-25$...
Sponge Bob cardboard box covered
in tissue paper
with the equivalent of empty paper towel rolls for legs.
Dude. 35$


The first Cinco De Mayo design I came up with uses a simple box shape.
The first step is to cover a cardboard cereal box, preferably the larger size jumbo box, with construction paper. I used tacky glue to get the glue to stay. Fold the paper as needed, as you would to wrap a gift. Now, here's where you'll also need to leave a cut out for the candy to go in as well as a hole somewhere near the top for the wire to hold up the piñata for the festivities.


I used crepe paper used for party decoration to wrap the boxes, cutting with scissors a little along the edge. Then I glued the top edge of the paper to the construction paper. Start at the bottom of the box. That is important. The fray will need to be at the bottom.

Oh, I did kind of fray the cut edge a little to give it some character as well. You know, because that just felt right.

When you get to the top, cover the top with two pieces of frayed edge on the outside and one down the middle that has double frays. That reminds me of a joke about a rope who went into a bar who was tied into a knot with a frayed end. The bartender said, "Are you a rope? We don't serve ropes in this bar." the rope said, "I'm a frayed knot."


The tassels are made from yarn from Granny's vast exotic collection of skeins...she has oodles of the stuff. Daggumit she was more than happy to have me using up some yarn on a "fancy project"(as she called it).
To make a tassel, wrap the yarn 20 times around a 2 inch piece of cardboard and tie it securely with a 2 inch piece of yarn. I used 24 tassels for this piñata.

Gently remove the tied yarn bundle from the cardboard and hold with one hand.

Cut the yarn directly across from where it is tied together.

I used a hot glue gun to secure the plate to the middle of the box.

In the center of the plate, I attached a flower like those I made in Recycled Pie Tin Art (Metalworking)

I also attached some of these puff ball things to the outside edge of the plate. What are these called?

Hot glue the tassels in a colorful deliberate pattern.

Hang from a tin roof in a neighborhood near you.
The second design for the box is mostly comprised of material I designed using the technique I used for

The same paper plate was used, but the outside edge was cut off, and an old Christmas tree ornament was hot glued to the center.

The rest of the flowers and leaves were arranged on the box and hot glued to it as well as some twisted aluminum foil for the vines and stems.

There you have it.


3 comments:
WOW Stef you are so Awesomely, uber- talented! I LOVE these Pinatas!!!Thanks for sharing your genius! Love it my friend!, Go You!
Lynnette
I always thought the same thing when I shopped for pinatas, these have got to be not so hard to make, so I can avoid the expense of it! Yet,I never had time to sit and think about it. Now I think I ight tackle the project, besides it looks fun gathering stuff around the house to make one!
P.s loved the frayed-knot joke!
~Mary Tui
Wow! This is really a very creative work of art. Thank you for sharing this. Awesome and perfect for the kids. We also did a Cereal Box Guitar out of the same materials you used. You should check this out!
EarlyLearning.Momtrusted.com DIY Musical Instruments: Cereal Box Guitar
Post a Comment